Dialogue Analysis
If you want to evaluate and analyze the responses present in a dialogue that already happened, and optionally correct it, use this template.
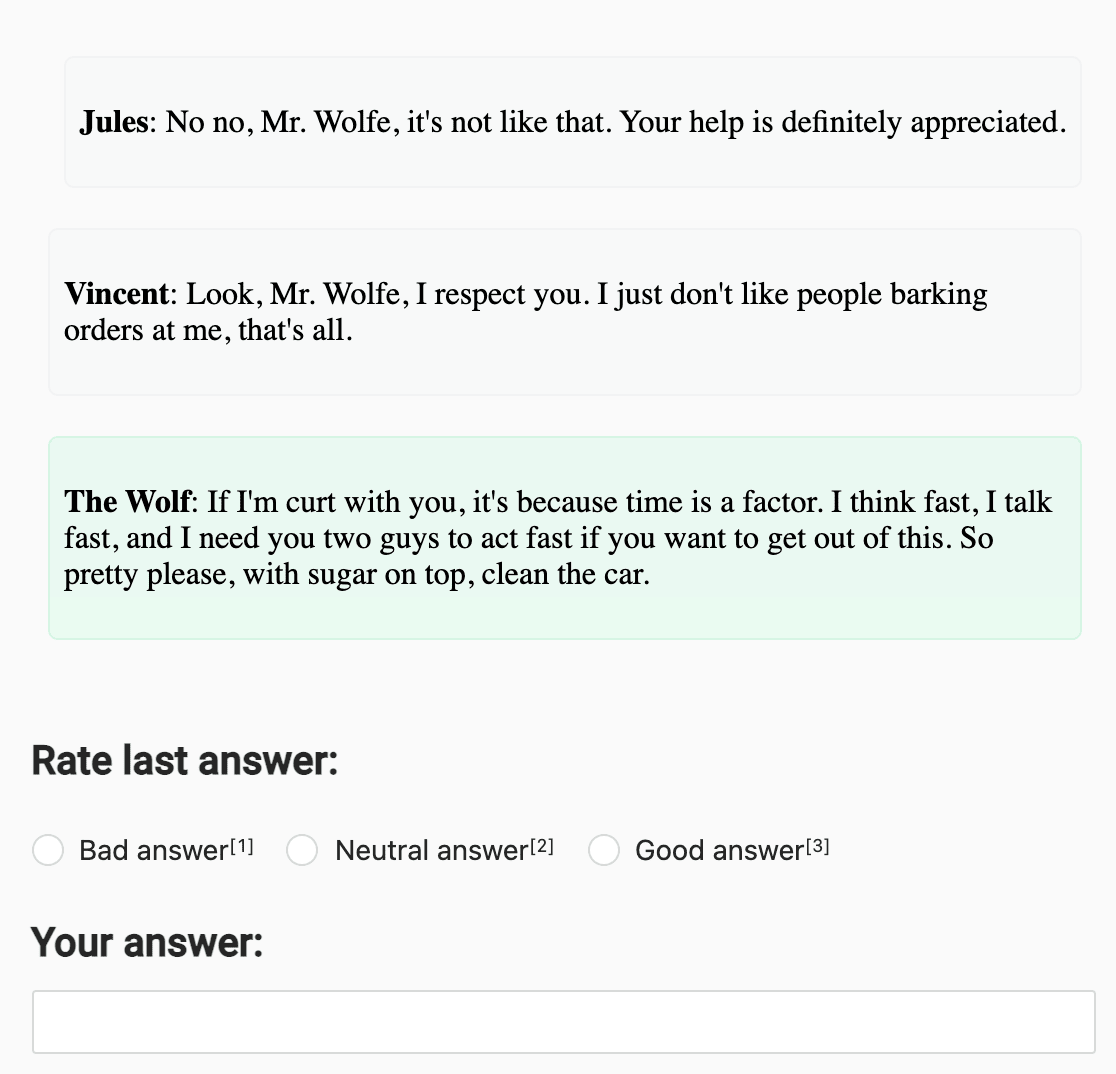
Use this template to provide a section of dialogue and classify it. Annotators then provide the best response to the section of dialogue.
Interactive Template Preview
Labeling Configuration
<View>
  <HyperText name="dialog" value="$dialogs"></HyperText>
  <Header value="Rate last answer:"></Header>
  <Choices name="chc-1" choice="single-radio" toName="dialog" showInline="true">
    <Choice value="Bad answer"></Choice>
    <Choice value="Neutral answer"></Choice>
    <Choice value="Good answer"></Choice>
  </Choices>
  <Header value="Your answer:"></Header>
  <TextArea name="answer"></TextArea>
</View>
About the labeling configuration
All labeling configurations must be wrapped in View tags.
Use the HyperText object tag to display dialogue data, imported in Label Studio JSON format using a key of “dialogs”:
<HyperText name="dialog" value="$dialogs"></HyperText>You can add a header to provide instructions to the annotator:
<Header value="Rate last answer:"></Header>Use the Choices control tag in combination with the Choice tag to have annotators classify the dialogue response. Use the arguments to control how the choices appear on the interface:
<Choices name="chc-1" choice="single-radio" toName="dialog" showInline="true">
    <Choice value="Bad answer"></Choice>
    <Choice value="Neutral answer"></Choice>
    <Choice value="Good answer"></Choice>
</Choices>
You can change the choice values to provide different classification options.
Use the TextArea control tag to provide annotators with a free text box to supply their own response to the dialogue. Add the editable=true argument to allow them
to edit their answer, or required=true to force annotators to supply an alternate response:
<TextArea name="answer"></TextArea>